So, you’ve decided to give your home a fresh, new look with linoleum flooring? Great choice! Linoleum floors are durable, eco-friendly, and can add a touch of elegance to any room. But hold on a sec – before you jump into the installation, let’s walk through the process step-by-step. This guide will cover everything you need to know about linoleum floor installation, from preparation to finishing touches. Ready to roll up your sleeves? Let’s get started!
What is Linoleum Flooring?
Linoleum is a resilient flooring material made from natural ingredients like linseed oil, cork dust, wood flour, and mineral fillers. It’s been around for over a century and is prized for its durability, ease of maintenance, and eco-friendliness. Unlike vinyl, which is made from synthetic materials, linoleum is biodegradable and renewable, making it an excellent choice for the environmentally conscious homeowner.
Why Choose Linoleum?
Durability and Longevity
Linoleum floors can last up to 40 years with proper care. They’re resistant to wear and tear, making them ideal for high-traffic areas like kitchens and hallways.
Eco-Friendly
As mentioned earlier, linoleum is made from natural materials. It’s biodegradable and doesn’t emit harmful VOCs (Volatile Organic Compounds), ensuring better indoor air quality.
Design Versatility
Available in a variety of colors, patterns, and styles, linoleum can mimic the look of more expensive materials like hardwood or stone, giving you the aesthetic you desire without breaking the bank.
Preparing for Installation
Before you start laying down your linoleum, preparation is key. Here’s a rundown of what you need to do.
Gather Your Tools and Materials
- Linoleum sheets or tiles
- Measuring tape
- Utility knife
- Adhesive
- Notched trowel
- Roller
- Seam roller
- Straightedge
- Chalk line
- Knee pads
- Safety goggles
Measure the Area
Measure the length and width of the room to calculate how much linoleum you’ll need. Add a few extra inches to your measurements to account for any mistakes or irregularities.
Prepare the Subfloor
Ensure the subfloor is clean, dry, and level. Remove any old flooring, nails, or staples. If the subfloor is uneven, use a leveling compound to smooth it out.
Acclimate the Linoleum
Allow the linoleum to acclimate to the room’s temperature and humidity for at least 24 hours before installation. This helps prevent any expansion or contraction after it’s laid down.
Step-by-Step Installation Guide
1. Plan Your Layout
Start by planning the layout of your linoleum. If you’re using tiles, lay them out in a dry run to see how they fit. For sheets, measure and cut them to fit the room, allowing an extra inch or two for trimming.
2. Apply the Adhesive
Using a notched trowel, spread the adhesive evenly over a small section of the subfloor. It’s best to work in sections to prevent the adhesive from drying out before you can lay the linoleum.
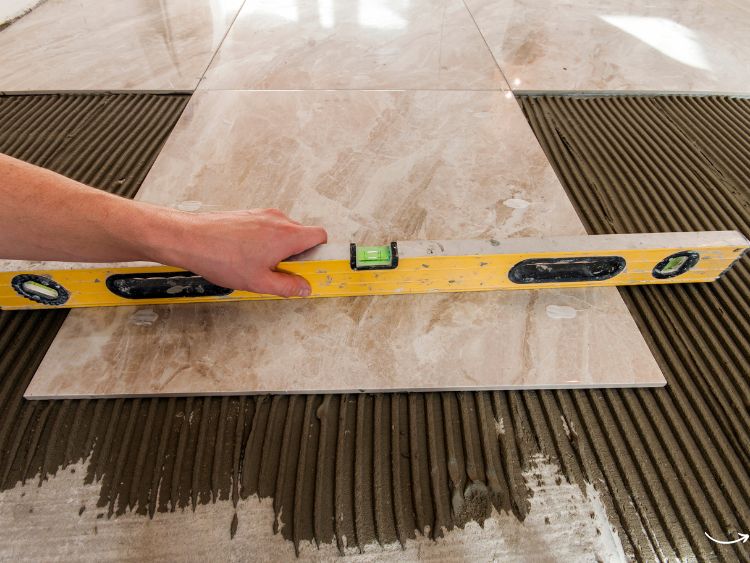
3. Lay the Linoleum
Carefully lay the linoleum into the adhesive, starting from one corner and working your way out. Use a roller to smooth out any air bubbles and ensure a firm bond.
4. Trim the Edges
Once the linoleum is in place, use a utility knife and straightedge to trim any excess material along the edges. Be sure to cut slowly and carefully to avoid any mistakes.
5. Roll the Seams
If you’re installing linoleum sheets, you’ll need to roll the seams with a seam roller to ensure they bond properly. This helps prevent any gaps or lifting over time.
6. Allow to Cure
Allow the adhesive to cure according to the manufacturer’s instructions, typically 24-48 hours. Avoid walking on the floor during this time to ensure a strong bond.
Maintenance Tips
To keep your linoleum floors looking their best, follow these simple maintenance tips:
- Sweep or vacuum regularly to remove dirt and debris.
- Wipe up spills immediately to prevent staining.
- Use a damp mop with a mild cleaner specifically designed for linoleum.
- Avoid using abrasive cleaners or tools that could damage the surface.
FAQs
1. Can I install linoleum flooring myself?
Absolutely! Linoleum floor installation is a great DIY project for those with a bit of patience and the right tools. Just follow this guide, and you’ll have a beautiful new floor in no time.
2. Do I need a special adhesive for linoleum?
Yes, it’s essential to use an adhesive specifically designed for linoleum to ensure a strong and durable bond.
3. How do I remove old linoleum flooring?
Remove old linoleum by cutting it into manageable strips with a utility knife and pulling it up. Use a scraper to remove any leftover adhesive from the subfloor.
4. Is linoleum waterproof?
While linoleum is water-resistant, it’s not entirely waterproof. Wipe up spills promptly to prevent damage.
5. Can linoleum be installed over existing flooring?
It’s best to install linoleum over a clean, smooth subfloor. If you have existing flooring, it’s recommended to remove it first for the best results.
Conclusion
Linoleum floor installation may seem daunting at first, but with the right preparation and tools, it’s a project you can tackle yourself. Not only will you save money on professional installation, but you’ll also enjoy the satisfaction of transforming your space with your own hands. Remember, the key to a successful installation is patience and attention to detail. Happy flooring!
Authoritative Links
- How to Install Linoleum Flooring: https://www.thisoldhouse.com/flooring/21018782/how-to-install-linoleum-flooring
- Linoleum Flooring Care and Maintenance: https://www.bhg.com/home-improvement/flooring/installation-how-to/linoleum-flooring-care-maintenance
Choosing the Right Flooring: https://www.hgtv.com/design/rooms/other-rooms/flooring-buying-guide-linoleum-and-vinyl