Outdoor furniture assembly can transform your backyard into a serene retreat or a vibrant social hub. Whether you’re setting up a simple patio set or a luxurious garden ensemble, knowing how to assemble your outdoor furniture correctly is key. This guide will walk you through everything you need to know about outdoor furniture assembly, ensuring your project is a smooth and enjoyable experience.
Why Assemble Outdoor Furniture Yourself?
Assembling outdoor furniture yourself has several benefits. Not only do you save money on professional assembly services, but you also gain a sense of accomplishment and a better understanding of your furniture’s structure. Plus, it’s a fun way to spend a weekend and can be a rewarding project to undertake with family or friends.
Getting Started with Outdoor Furniture Assembly
What You’ll Need
Before diving into the assembly process, gather the necessary tools and materials. Here’s a quick checklist:
- Screwdrivers: Both flathead and Phillips
- Allen Wrenches: Often included with your furniture
- Hammer: For tapping parts into place
- Rubber Mallet: To avoid damaging surfaces
- Measuring Tape: Ensuring accuracy
- Level: For stability
- Protective Gear: Gloves and safety glasses
Read the Instructions
Always start by reading the manufacturer’s instructions. This might seem obvious, but many people skip this step and end up confused. Instructions typically include diagrams and step-by-step processes that are crucial for a smooth assembly.
Prepare Your Workspace
Choose a flat, stable surface for your assembly area. A driveway, garage, or patio works well. Lay down a blanket or tarp to protect your furniture from scratches and keep small parts from getting lost.
Step-by-Step Outdoor Furniture Assembly
1. Unpack and Organize
Start by unpacking all the components. Lay them out and compare them to the parts list in the manual. This ensures you have everything you need and makes it easier to find parts during assembly.
2. Assemble the Frame
Begin with the main structure, such as the frame or base. This usually involves connecting larger pieces using screws or bolts. Make sure each connection is secure but avoid over-tightening, which can strip the screws or damage the material.
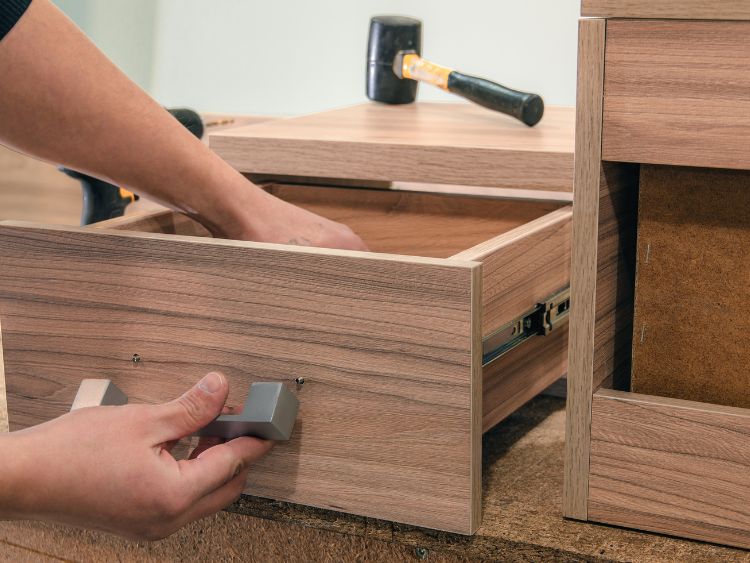
3. Attach the Seats and Backs
Once the frame is set, attach the seat and back components. These parts often require alignment with pre-drilled holes, so take your time to ensure accuracy. Use a level to check that everything is even.
4. Add Finishing Touches
Finish by attaching any additional features like armrests, cushions, or decorative elements. These parts can add both comfort and style to your furniture.
Tips and Tricks for Easy Assembly
Use the Right Tools
Using the correct tools can make a huge difference in the ease and speed of assembly. If the included tools are insufficient, don’t hesitate to use your own.
Work with a Partner
Having an extra pair of hands can be incredibly helpful, especially for holding parts in place while you secure them. Plus, it makes the process more enjoyable.
Take Breaks
Assembly can be time-consuming and physically demanding. Take regular breaks to avoid frustration and fatigue. A fresh mind and rested body work much more efficiently.
Stay Organized
Keep your workspace tidy and organize screws and bolts in small containers or trays. This prevents losing small parts and helps you stay on track.
Common Challenges and Solutions
Misaligned Holes
If holes don’t line up, don’t force them. Check the instructions again to ensure you’ve connected the right parts. Sometimes, loosening the screws and adjusting the pieces can help align the holes.
Missing Parts
If you’re missing parts, contact the manufacturer. Most companies will send replacement parts free of charge. In the meantime, double-check the packaging to make sure the parts aren’t hidden.
Uneven Surfaces
If your furniture wobbles, use a level to identify uneven parts. Adjust the legs or add small pads to stabilize the furniture.
FAQs about Outdoor Furniture Assembly
What if I don’t have all the tools needed?
You can often substitute similar tools, like using a coin instead of a flathead screwdriver. However, for best results, consider investing in a basic toolset.
How long does assembly typically take?
It varies depending on the complexity of the furniture. Simple pieces might take an hour, while larger sets could take several hours or more.
Can I assemble furniture alone?
Yes, but having help can make the process easier and faster, especially for heavy or awkward parts.
What if I make a mistake?
Most mistakes can be fixed by disassembling and reassembling the parts. Take your time and refer back to the instructions.
Is it necessary to use a power drill?
While not necessary, a power drill can speed up the process, especially for larger sets. Just be cautious not to over-tighten screws.
Conclusion
Assembling outdoor furniture can be a rewarding DIY project. By following this guide, you’ll be able to tackle your assembly with confidence and create a beautiful, functional outdoor space. Remember to take your time, use the right tools, and enjoy the process. Happy assembling!
Authoritative Links
- Home Depot Assembly Guide: www.homedepot.com/assemblyguide
- Lowe’s DIY Assembly Tips: www.lowes.com/diyassemblytips
- IKEA Outdoor Furniture Assembly: www.ikea.com/outdoorfurnitureassembly
By following this detailed guide, you’ll be well on your way to mastering the art of outdoor furniture assembly. With the right preparation and approach, your outdoor space will soon be ready for relaxation and enjoyment.